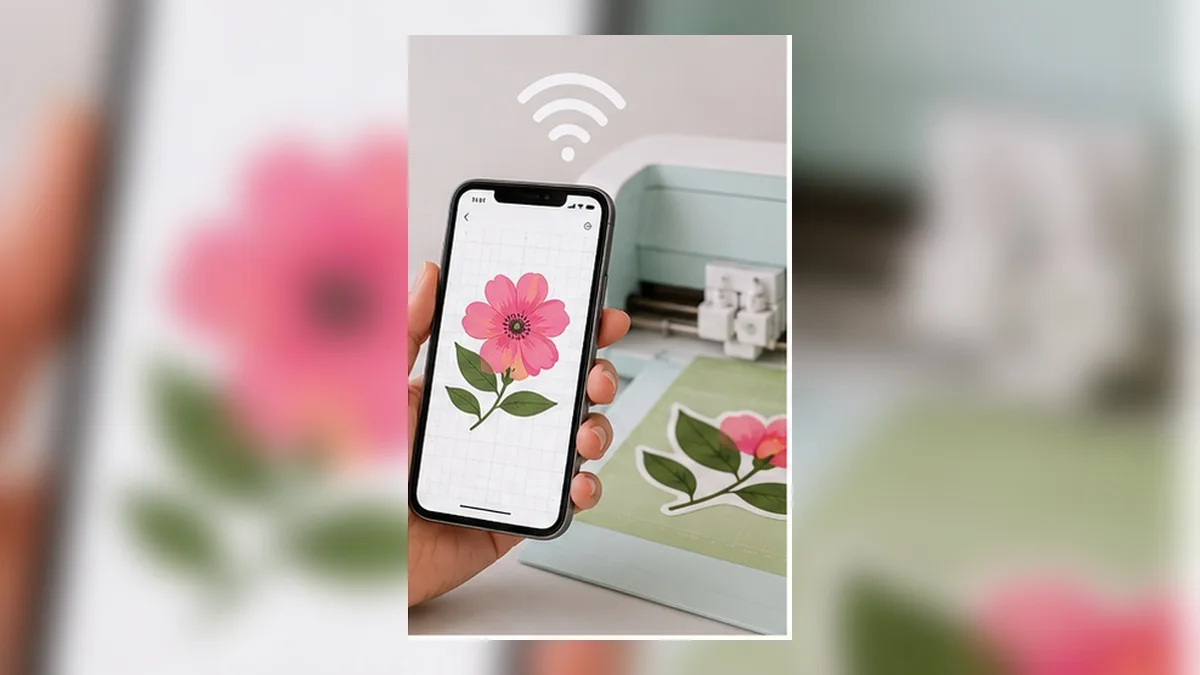
The honest answer: yes, but the app alone will let you down
Search for whether you can run a cutting machine from your phone and you’ll find a lot of articles that answer “yes!” and then quietly stop. They show you how to open a project someone else made and press Go. That works. It is also not what you were asking.
What you actually want to know is whether you can design something of your own — your words, your fonts, your layers — and cut it, using only the phone in your hand. The mobile design app on its own struggles with that, and pretending otherwise wastes an evening.
The real answer is more useful: split the job. Design where a phone browser is genuinely good at design, then hand a finished cut file to the mobile app and let it do the one thing it does well — talk to the machine.
| Mobile design app alone | Design in a browser, cut in the app | |
|---|---|---|
| Typing and styling text | Basic; heavy edits are fiddly | Full control on a touch screen |
| Stacked outlines | One at a time, by hand | Generated in one pass |
| Real-world size | Set after import, easy to get wrong | Inches baked into the file |
| Overlapping letters | Manual weld, hard to undo | Exported already merged |
| Talking to the machine | ✅ This is what it’s for | ✅ Unchanged — still the app’s job |
What people actually hit on mobile
Feature lists change with every app update, so treat this as “the walls people keep running into” rather than a permanent spec sheet — and check your own version before you plan an evening around it.
- Text handling is the first wall. Letter spacing, curving, and anything involving individual letters is far more painful on a small screen than on a desktop, and some of it simply isn’t exposed.
- Multi-layer outlines are manual. Building a design with three or four nested outlines means creating, offsetting, colouring and aligning each layer by hand.
- Merging overlapping letters is one-way. Once you merge a script phrase into a single shape, going back to fix one letter usually means rebuilding it.
- Uploading your own artwork is where evenings die. The file has to be the right format, the right size, and free of the things the importer silently drops.
- Font access is limited. Which fonts you can reach, and whether you can install your own, depends on your phone and the app version.
None of these are reasons to buy a laptop. They’re reasons to stop designing inside the app.
The workflow: design in a browser, cut in the app
The whole trick is that a cutting machine doesn’t care where a cut file came from. It cares that the file is vector, correctly sized, and made of closed shapes. A phone browser can produce exactly that.
- Open a browser-based editor on your phone. No install, no account — it’s a web page.
- Type your text and style it. Fonts, weight, stacked outlines, curves, colours. This is the part the mobile app makes hard, so do it here.
- Export a cut file (SVG). A good exporter merges overlapping letters, converts outlines into real shapes, and writes a physical size into the file.
- Save it to your phone. On iPhone it lands in Files; on Android, in Downloads.
- Upload it in the mobile design app and place it on the mat.
- Cut.
Six steps, no computer, and the only part that touches the app is the part it’s genuinely good at.
If you want to see how the decorating side works before you commit to a project, start with No PC Needed! Decorated Text in About a Minute on Your Phone.
Why “real-world size” is the step everyone skips
Here is the failure that costs the most vinyl: you upload an SVG, it lands on the mat at some arbitrary size, you drag it to look about right, and you cut. Half an inch off is enough to ruin a shirt placement or a tumbler wrap.
A vector file can carry a physical size — “this artwork is 4 inches wide” — or it can carry only abstract coordinates. If it carries only coordinates, the importing software has to guess, and it guesses differently depending on the file.
So when you export, set the finished size in inches before you export, and check the number after you import. A file that already knows it is 4 inches wide lands on the mat at 4 inches wide, every time, and you stop nudging.
This matters more on a phone than on a desktop, because dragging a corner handle with your thumb is not a precision instrument.
Choosing the right file type
Two formats, two jobs. Getting this backwards is the second most common way a phone-only project fails.
- SVG — for cutting. Shapes and paths. The machine follows the outlines. This is what you want for vinyl, cardstock, and iron-on.
- PNG — for printing. Pixels. Use it when the design is printed first and cut around afterwards, or when you’re posting the design online.
If you send a PNG when you meant to cut, the software will try to trace it and you’ll get ragged edges. If you send an SVG when you meant to print a full-colour illustration, you’ll lose the gradients. Neither is a bug — they’re different tools.
For the whole pixels-versus-shapes story, and why phone artwork so often prints soft, see Blurry Prints from Your Phone? Vector vs. Raster Explained for Crafters.
Things that go wrong on upload, and what they mean
“The file uploaded but nothing appears on the mat.” Usually the artwork is made of strokes (lines with a thickness) rather than filled shapes. A machine can’t cut a line — it cuts the edge of a shape. Export with outlines converted to filled shapes.
“Everything came in as one colour / one layer.” That’s normal when the file has one fill colour. If you want layers per colour for multi-colour vinyl, the export needs to group shapes by colour.
“The letters have extra cut lines inside them.” Overlapping letters that were never merged. Script fonts do this constantly — every place two letters touch becomes an internal edge. Merge before exporting, not after importing.
“It’s tiny / it’s enormous.” The size wasn’t written into the file. See above.
What you still need a computer for (being fair about it)
A phone-only workflow covers most lettering and decal work. It does not cover everything:
- Long, complex multi-piece projects where you’re managing dozens of layers are still easier with a mouse and a big screen.
- Detailed image tracing from photographs benefits from a large display.
- Machine firmware updates and some account admin tasks may push you to a desktop.
Knowing where the edge is means you stop fighting the phone at the point where it genuinely stops being the right tool.
A worked example: a 4-inch name decal, start to finish
Abstract advice is easy to agree with and hard to act on, so here is the whole thing with real decisions in it.
The job: a 4-inch-wide name decal in a single colour of adhesive vinyl, for a water bottle. Phone only.
1. Decide the finished width first, not last. Four inches. Write it down before you open anything. Every later decision — font weight, outline thickness, whether a script will survive — depends on this number, and deciding it at the end is how projects get redone.
2. Type the word in a browser editor. Open the editor in Safari or Chrome. Type the name. Nothing clever yet.
3. Pick a weight that survives 4 inches. A name at 4 inches wide is roughly 0.8–1.2 inches tall depending on length. On a short name the letters are chunky and almost anything works; on a nine-letter name at the same width, the strokes get thin fast. If the thinnest stroke looks under about 1 mm at final size, go heavier or add an outline.
4. Close the letter gaps if it’s a script. Tighten the spacing until adjacent letters visibly overlap. Not touching — overlapping. This is the step that decides whether the decal comes off the backing in one piece.
5. Set the size in inches and export SVG.
Type 4 into the width field. Export. The file now knows it is four inches wide.
6. Find the file on your phone. On iPhone the download lands in Files → Downloads (or wherever Safari is set to save). On Android it’s Files → Downloads. Both apps can hand a file to another app via the share sheet.
7. Upload it in the machine app. Use the app’s upload flow and pick the SVG from Files/Downloads. It should land on the mat at 4 inches wide without you touching a handle. Check the width readout. If it says something else, the size wasn’t written into the file — go back and set it.
8. Cut, weed, transfer.
Total time once you’ve done it once: about five minutes of design and one cut.
Phone-specific things that trip people up
Where the file goes. Browsers on phones don’t always ask. If you can’t find the SVG, look in Downloads first, then check whether the browser is set to save to iCloud Drive or Google Drive instead of the device.
The share sheet is your friend. Rather than hunting for the file inside the machine app’s browser, it is often easier to open the file in Files, tap Share, and send it to the app.
Zoom is not precision. Pinch-zooming to place something on the mat feels accurate and isn’t. Use numeric fields for size and position wherever the app offers them — that is what they’re for.
Screen rotation. Some design steps are far easier in landscape. If a panel feels cramped, turn the phone before you conclude the feature is missing.
Battery and Bluetooth. Cutting over Bluetooth from a phone works, but a long cut with a phone that goes to sleep can drop the connection. Keep the screen awake, or use a cable if your machine supports it.
Storage. SVGs are tiny — usually well under 100 KB. If a file is several megabytes, it probably contains an embedded image, which means it isn’t a clean cut file.
When the app rejects your file
A short field guide, because “upload failed” is not a helpful message.
| What you see | Most likely cause | Fix |
|---|---|---|
| Upload succeeds, mat is empty | Artwork is strokes, not filled shapes | Export with outlines converted to shapes |
| Everything is one colour | Single fill colour in the file | Group shapes by colour on export |
| Extra lines inside letters | Overlapping letters never merged | Merge before export |
| Lands microscopic or enormous | No physical size in the file | Set width in inches, re-export |
| Some shapes missing | Effects the importer can’t read (masks, filters, gradients) | Export a flattened cut path |
| ”Unsupported file” | It’s not really an SVG (renamed PNG, or a compressed SVGZ) | Re-export as plain SVG |
The pattern: a cut file should be plain filled shapes with a stated size and nothing else. Every rejection above is the importer meeting something that isn’t a shape.
Phone vs tablet vs laptop: an honest comparison
| Phone | Tablet | Laptop | |
|---|---|---|---|
| Design in a browser | ✅ Fine | ✅ Comfortable | ✅ Comfortable |
| Placing on the mat | Workable with numeric fields | Comfortable | Comfortable |
| Managing 10+ layers | Painful | Workable | Comfortable |
| Tracing photographs | Painful | Workable | Comfortable |
| Portability | ✅ Unbeatable | Good | Poor |
The phone is not a compromise for lettering work — it’s genuinely sufficient. It becomes a compromise when a project has many independent pieces to arrange, and that’s a layout problem rather than a design problem.
Frequently asked questions
Q. Do I need to install an app to design on my phone?
No. A browser-based editor runs in Safari on iPhone or Chrome on Android. The design part is a web page; the only app you need is the one that talks to your machine.
Q. Will the SVG import at the right size?
It will if the size is written into the file. Set the finished width in inches before exporting, then confirm the number after importing — it should match without you touching the handles.
Q. Can I use my own fonts?
In a browser-based editor you use the fonts it provides, which sidesteps the whole question of installing fonts on a phone. Check the licence if you plan to sell what you make.
Q. Does this work with machines other than one brand?
The output is a standard SVG, so any software that imports SVG can use it. Nothing in this workflow is tied to a single manufacturer.
Q. What about designs that get printed and then cut?
Export a PNG for the printed artwork. Some workflows also want a separate cut outline — see the article on white edges below.
Summary
- The mobile design app is fine at driving the machine and frustrating at designing
- So design in a phone browser and hand the app a finished cut file
- Write the physical size into the SVG — this is the step that saves the most material
- SVG to cut, PNG to print — mixing them up causes most import failures
- Strokes don’t cut; filled shapes do
You don’t need a computer. You need to stop asking one app to do two very different jobs.
→ Design a cut file in your phone browser (no sign-up · export free for a limited time)
Cricut, Design Space and Silhouette are trademarks of their respective owners. DecoTecoPop is an independent tool and is not affiliated with, endorsed by, or sponsored by any cutting-machine manufacturer.