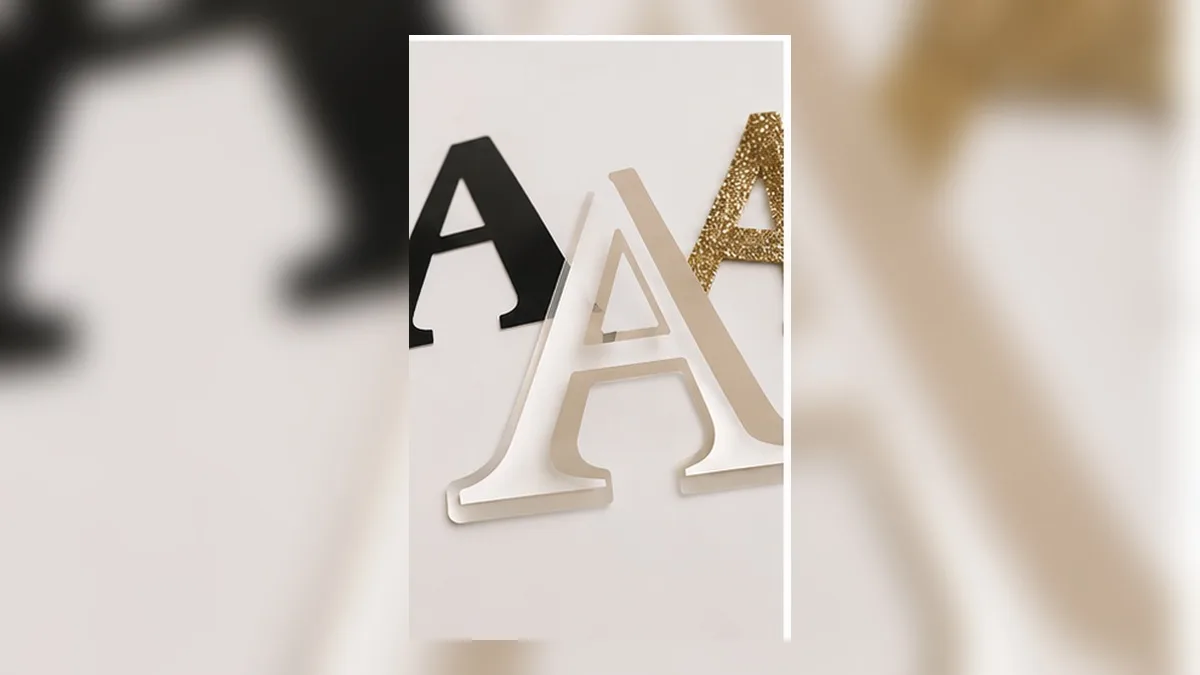
The font didn’t fail. A measurement did.
Every crafter has a font that betrayed them. It looked elegant on screen, it cut, and then during weeding the thin parts lifted with the waste and the whole thing tore.
The useful thing to know is that this is predictable. Whether a font survives weeding comes down to a handful of measurable properties, and once you know what they are you can look at a font and call it before you commit any vinyl.
The four properties that decide everything
1. Minimum stroke width
The thinnest part of any letter. This is the single biggest predictor.
- Below about 1 mm (1/25 in): expect tearing on standard adhesive vinyl
- 1–2 mm: workable if you weed carefully and the design isn’t small
- Above 2 mm: comfortable
The catch: minimum stroke width depends on the size you cut at, not on the font. A hairline serif at 12 inches is fine. The same font at 2 inches is confetti.
2. Counter size
Counters are the enclosed holes — the middle of o, a, e, B. Small counters are the second most common tear point, because you’re lifting a tiny island of waste out of a hole.
If a counter is smaller than roughly 2 mm across, it will fight you, and on glitter or flocked material it may simply refuse.
3. Stroke contrast
The difference between the thickest and thinnest part of a letter. Old-style serifs and high-fashion display faces have enormous contrast — fat stems, hairline joins. The hairline is what tears.
Low-contrast fonts — geometric sans, slab serifs, most script fonts designed for signage — cut far more reliably.
4. Detail density
Serifs, spurs, ornamental flourishes, textured edges. Each one is another small piece to weed. A font can pass all three tests above and still be exhausting simply because there are two hundred fiddly bits per word.
What tends to work, and why
Heavy geometric sans. Uniform strokes, generous counters, no hairlines. The safest category and the reason so many decals look similar.
Slab serifs. The serifs are chunky rather than delicate, so they add character without adding fragility.
Signage and brush scripts drawn with a marker-like stroke. Consistent width by design. Watch the joins between letters — they’re often the thinnest point in the whole word.
Rounded / soft sans. Rounded terminals are physically stronger than sharp points, which are where tears usually start.
What tends to fail, and why
Hairline and “thin” weights. Self-explanatory, and still the most common mistake.
High-contrast display serifs. Beautiful, and the hairlines are often under 0.5 mm at realistic decal sizes.
Delicate calligraphic scripts. The flourishes are the point of the font, and they’re also the thinnest strokes in it.
Anything with texture or distress built in. A distressed font is hundreds of tiny islands. Some machines will cut it perfectly and you’ll still be weeding at midnight.
Very condensed faces at small sizes. Condensing squeezes the counters before it squeezes the stems.
Match the font to the material
The same font behaves differently on different stock. Roughly, from most forgiving to least:
| Material | Tolerance for thin strokes |
|---|---|
| Standard matte / gloss adhesive vinyl | Good |
| Smooth heat-transfer vinyl | Good |
| Removable / wall vinyl | Moderate — thinner carrier, tears more easily |
| Glitter heat-transfer vinyl | Poor — thick and stiff |
| Flocked / textured | Poor |
| Holographic and metallic | Moderate to poor, varies by brand |
If a design has to be on glitter, add roughly 50% to your minimum stroke width before you decide the font is safe.
Match the font to the object
Car and window decals are viewed from a distance and are often large — you have room for more delicate faces here than anywhere else.
Mugs and tumblers are small, curved, and handled constantly. Go heavier than you think, and avoid anything with fine points that can catch and lift.
Shirts involve heat, pressure and stretch. Thin strokes survive the cut and then fail in the wash. Heavy is not just easier, it lasts longer.
Small labels and planner decals are where counters kill you. Check the inside of every a, e and o at final size.
Rescuing a font that’s too delicate
You don’t always have to give up the font you love.
Add an outline. A small outward offset thickens every stroke uniformly. A 0.5 mm outline turns a 0.7 mm hairline into a 1.7 mm stroke, and it keeps the letterform’s character. This is the single most effective rescue.
Cut it bigger. Minimum stroke width scales with size. If the design allows a larger decal, the font problem disappears on its own.
Bump the weight. If the family has a Bold or Black, use it. Faux-bolding by outlining is fine too, and often looks better than a badly drawn heavy weight.
Simplify the flourishes. Long swashes are usually decorative, not structural — trimming one is often invisible in the final piece.
Cut a test strip. Two inches of the worst part of the word, on the actual material. It costs a scrap and saves a sheet.
Adding an outline is also how layered lettering is built — see How to Make Layered Vinyl Text Without Buying Layered SVGs.
Checking a font before you commit
A three-minute routine that prevents most disasters:
- Type the actual words — not “The quick brown fox.” Real words expose real letter pairs.
- Set it at the actual finished size, in inches.
- Zoom to 400% and find the thinnest point in the whole string.
- Look inside every counter. Can you imagine picking that out with a weeding hook?
- Check the joins in a script font. Those are usually thinner than anything else.
If steps 3–5 make you wince, you have your answer before spending anything.
A note on licences
If you’re selling decals, the font’s licence matters as much as its shape. Plenty of free fonts allow personal use only, and “I found it on a free site” is not a licence.
Look for fonts released under an open licence that explicitly permits commercial use, and keep a note of where each one came from. This becomes important the moment a listing does well.
More on this in Making Stickers to Sell: File Setup That Looks Professional.
Working out minimum stroke width without measuring tools
You don’t need a caliper. You need one ratio.
Find the ratio once per font: in your design tool, set the font to a cap height of exactly 1 inch. Zoom in on the thinnest part of any letter and compare it to the letter height. A stroke that looks like one-twentieth of the height is 0.05 inch — about 1.3 mm.
Then it scales linearly. If a font’s thinnest stroke is 1/20 of its height:
| Cap height | Thinnest stroke |
|---|---|
| 2 in | 0.10 in (2.5 mm) |
| 1 in | 0.05 in (1.3 mm) |
| 0.75 in | 0.037 in (0.95 mm) ⚠️ |
| 0.5 in | 0.025 in (0.6 mm) ❌ |
That single ratio tells you the smallest size the font can be cut at. Write it next to the font name in your notes and you never have to think about it again.
A rough sorting rule for common categories:
| Font style | Typical thinnest stroke, as a fraction of cap height |
|---|---|
| Heavy geometric sans | 1/6 – 1/8 |
| Regular sans | 1/10 – 1/14 |
| Slab serif | 1/8 – 1/12 |
| Signage script | 1/10 – 1/16 |
| Light / thin weights | 1/25 – 1/40 ❌ |
| High-contrast display serif | 1/30 – 1/60 ❌ |
Anything past about 1/20 needs either a bigger cut or an outline.
Weeding: technique that rescues marginal fonts
A font that’s borderline on paper can still succeed with better weeding.
Weed while it’s fresh. Vinyl adheres more firmly to the backing over time. Weeding straight after cutting is measurably easier than weeding tomorrow.
Work from the outside in. Remove the large surrounding waste first, then the counters. Starting with the fiddly bits means handling delicate pieces while the sheet is still floppy.
Pull at a shallow angle, not upward. Lifting waste straight up puts tension on the thin strokes. Peeling it back flat against itself puts the tension on the waste instead.
Use a weeding box. Cutting a rectangle around each design isolates it, so a tear in one area can’t propagate across the whole sheet.
Light from the side. A lamp at a low angle makes cut lines visible on the same-coloured vinyl — far easier than overhead light.
Warm vinyl weeds better. A cold garage makes vinyl stiff and brittle. Room temperature is genuinely part of the technique.
Slow the machine down for fine work. Many machines have a slower speed setting; on intricate designs it produces noticeably cleaner corners.
Recommended directions by project
Rather than naming specific fonts — licences and availability vary, and lists go stale — here’s what to look for in each case.
Car and window decals (large, viewed at distance). You have the most freedom here. A moderate-contrast serif or a well-drawn script both work at 8–12 inches. Avoid anything with fine texture, which disappears at distance anyway.
Mugs and tumblers (small, curved, handled). Heavy sans or a signage script with even strokes. Nothing with fine points. Aim for a thinnest stroke of at least 1.5 mm because the piece will be touched constantly.
T-shirts (heat, stretch, washing). Heavy weights only. Thin strokes survive the press and fail in the wash. A 2 mm minimum is a good discipline.
Small labels and planner stickers. Counters are the constraint. Choose fonts with famously open counters — humanist sans faces tend to be generous — and test one sheet before committing.
Monograms. Usually large per-letter, so high-contrast serifs become viable here in a way they aren’t for words. Check the thinnest hairline against the actual letter height.
Building your own shortlist
Rather than trusting any list, build a small personal one. It takes an evening and pays back for years.
- Pick 8–10 candidates across categories: two heavy sans, two slabs, two signage scripts, two display faces.
- Set them all at the same cap height in one file — say 1 inch.
- Type the same test string in each: something with
a e o g(counters),l i t(thin stems) and a capital. - Note the thinnest-stroke ratio for each.
- Cut the whole sheet once on your most common material.
- Weed it and rank them by how annoying they were.
You now have a personal shortlist with real numbers attached, matched to your machine, your blade and your material — which is worth more than any general recommendation, including the ones above.
Frequently asked questions
Q. What’s the thinnest stroke I can cut?
On standard adhesive vinyl, roughly 1 mm is where trouble starts and 0.5 mm is where most people give up. Glitter and flocked material need considerably more.
Q. Can I just make everything bold?
Bolding helps, but a badly drawn bold weight can close up the counters and create a new problem. Check the counters after bolding.
Q. Why did the same font work last time?
Almost certainly a different finished size, or a different material. Both change the minimum stroke width in absolute terms.
Q. Does a sharper blade fix thin fonts?
It helps at the margins — a dull blade tears where a sharp one cuts. But it doesn’t change the fact that a 0.4 mm stroke is physically fragile once it’s lifted off the backing.
Q. Are script fonts a bad idea generally?
No — signage-style scripts with even stroke width cut very well. It’s the calligraphic ones with hairline joins that cause trouble.
Summary
- Four properties decide it: minimum stroke width, counter size, stroke contrast, detail density
- All four depend on the size you actually cut at, not on the font alone
- Glitter and flocked materials need roughly 50% more stroke width
- The best rescue is an outline — it thickens uniformly and keeps the letterform
- Three minutes of checking at final size prevents most torn projects
→ Add outlines and adjust weight before you cut (no sign-up · export free for a limited time)
Cricut, Design Space and Silhouette are trademarks of their respective owners. DecoTecoPop is an independent tool and is not affiliated with, endorsed by, or sponsored by any cutting-machine manufacturer.