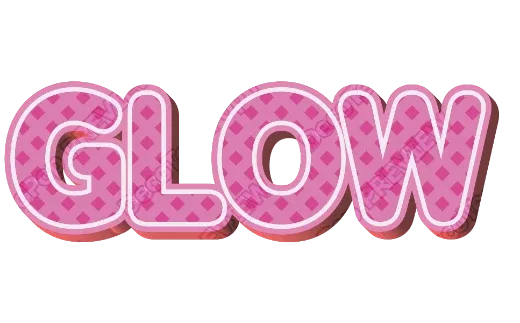
The short answer
Type a name, pick a puffy, rounded style, and choose what you need:
- Print it — a PDF at real paper size (Letter or A4) for banners, classroom signs or a colouring page.
- Cut it — an SVG cut file for Cricut or Silhouette, with the letters already welded and each colour on its own layer.
- Use it on screen — a transparent PNG for slides, videos or social posts.
All free, no sign-up, in the browser on a phone or a computer. Start from the Logo Text Maker and filter for the round, glossy styles.
What makes a letter a “bubble letter”
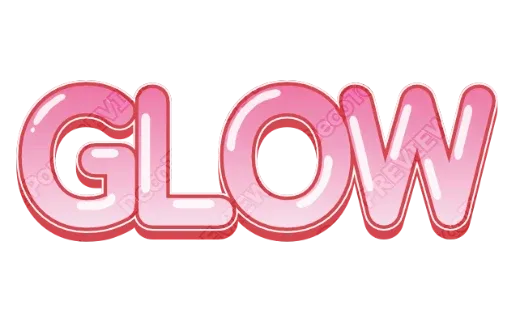
Bubble letters are fat, rounded letters with no sharp corners, usually with a thick outline around the whole word. Three things create the look:
- A rounded, heavy font. The letters should already be soft and chunky before any effect is added.
- A thick outer outline that merges the letters into one puffy shape.
- A highlight (optional) — a small white shine near the top of each letter makes them look inflated.
In the tool, start from a style that already has round letters and a thick outline, then change the words. If you start from a different style, switch the font to a rounded one in the editor.
Printing bubble letters
As a banner or classroom sign
Type the word, choose a bright style, and export the PDF. The canvas is a real sheet size, so what you see is what prints. For a long banner, make one word per page.
As a colouring page
- Pick a bubble style with a thick outline.
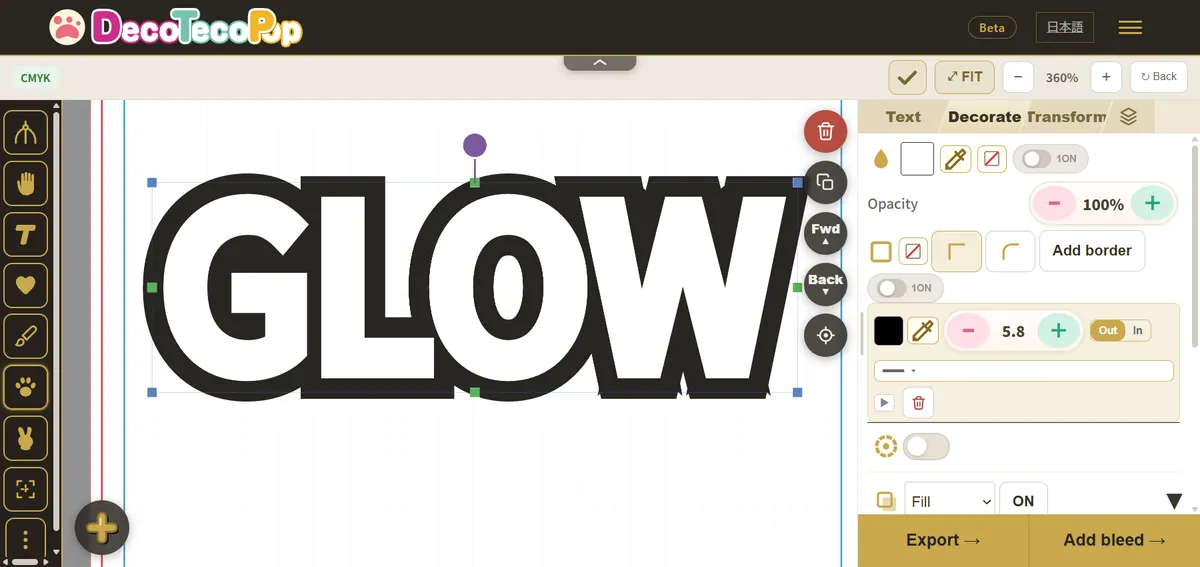
- In the editor, set the fill to white and keep one dark outline. Remove gloss and patterns.
- Export the PDF and print it. Kids can colour inside the letters.
Printing a whole alphabet
Each design holds up to 24 characters, so an alphabet fits in two pieces: ABCDEFGHIJKLM and NOPQRSTUVWXYZ. Do the numbers as a third piece.
Cutting bubble letters on a Cricut or Silhouette
Bubble letters are popular for vinyl and iron-on (HTV) because the rounded shapes cut and weed easily. The tricky part is usually the outline layer: in most design software you have to offset the text, weld the overlaps and separate the colours yourself.
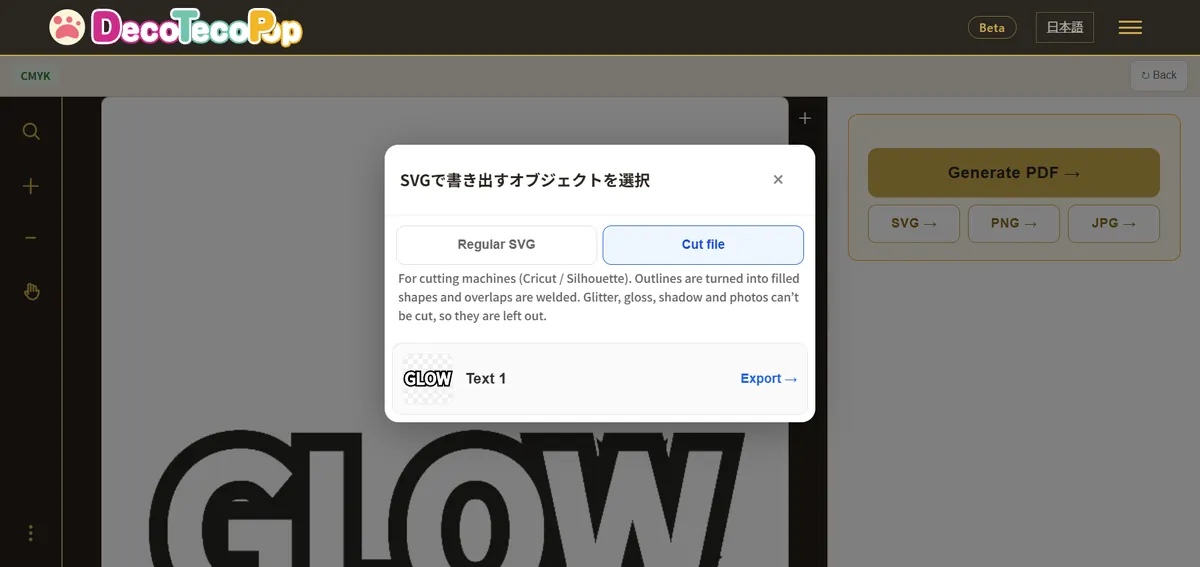
The cut file export does that part:
- Text is turned into shapes, so there is no font to install or substitute.
- Overlapping letters are welded into one clean path.
- Each colour becomes its own layer — usually the outline and the fill — so you cut one sheet of vinyl per layer.
- True size: a 6-inch word imports as 6 inches.
Apply from the back: the outline layer first, then the fill on top. If the style has gradients, gloss or textures, those become flat colours in a cut file; for the full look, print it on printable vinyl and cut around it.
Tips
- Short words cut best. Names, initials and one-word signs.
- Give the outline real thickness. Very thin outlines tear when weeding. If in doubt, make the whole design bigger.
- Avoid tiny counters. The holes inside letters like
a,eandocan close up with very thick outlines; reduce the outline a little if they disappear.
FAQ
Is it free? Yes, while the tool is in beta, with no sign-up.
Will it open in Cricut Design Space? Yes — the cut file is a standard SVG. Silhouette Studio opens SVG in its Designer Edition and above.
Can I change the name later? Yes. Open the downloaded file in the tool again and change the words.
Make yours in the Logo Text Maker. For more on cutting layered text, see layered vinyl text.